

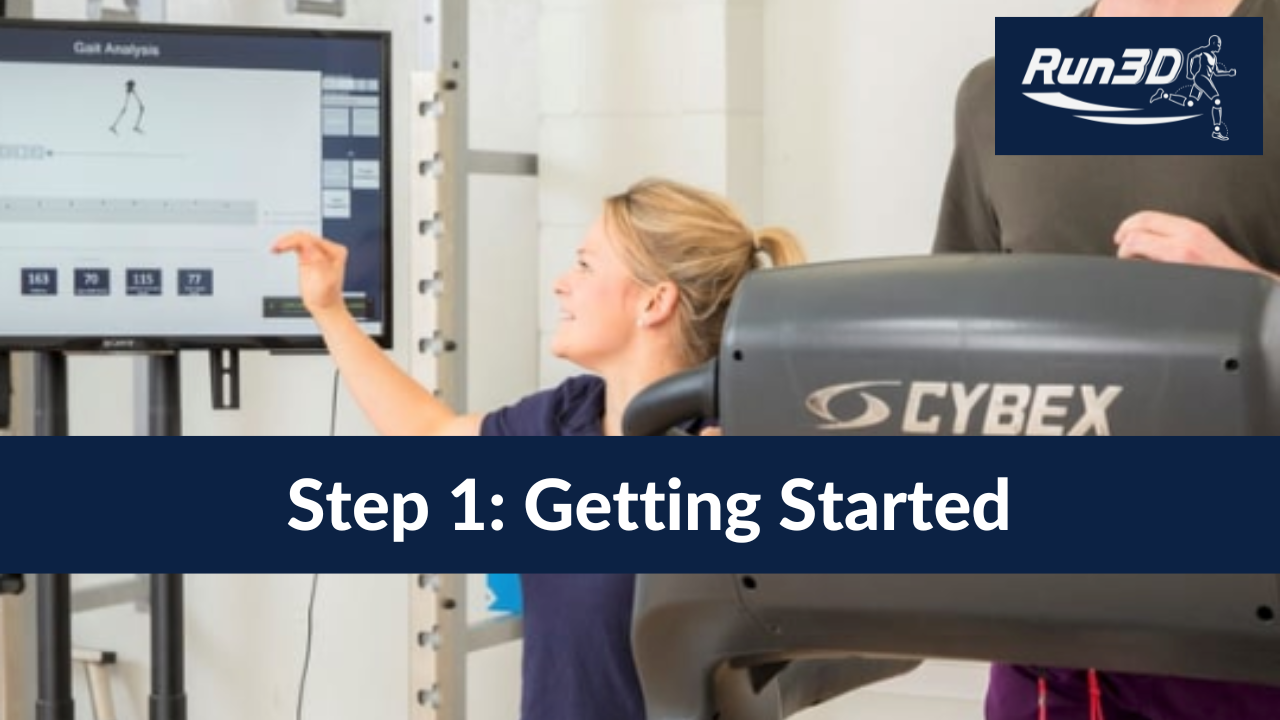
Here we talk you through our Super Quick Start Guide for capturing a Run3D trial. If you require detailed training, refer to the individual modules. If you need of a quick refresh, this is for you!

In this module we go through the system hardware, and some of the technicalities on how this hardware is set-up.
Specific topics covered include:

In this module, we discuss the optimal set-up for the Run3D system at your clinic.
Topics covered include:
In this module we cover the things you need to do in preparation for collecting a Run3D trial.
The module includes:

In this module we teach you how to enter your client's details into the Run3D database.
The content includes:

In this module we teach you the theory behind the calibration process – this is the science, the what, why and how of what you are doing when you wave that bright red wand in front of your cameras!
If you’re only interested in learning the practical side, that is how to perform a calibration in order to carry-out a Run3D analysis, then you can jump straight to the next module - Calibration in Practice

In this module we are teaching you how to calibrate your cameras in preparation for a gait assessment.
The calibration module is split into two parts. In the previous module we taught you the theory behind the calibration process, and in this module we will teach the practical – exactly how to carry-out a system calibration in order to use your Run3D system.
The following topics will be covered:

In this next module we teach you how to attach the markers to your patient in readiness for collecting a walking or running trial.
Topics covered include:

To start this module, we explain the theory behind the static trial before moving on to the practical side of how to capture one.
Capturing a static trial is an extremely important step, please make sure you follow this lesson carefully!
We have also created this simple flow-chart to ensure that you get the static trial right each and every time.
Follow these steps after calibration when your client is positioned on the treadmill ready for the static trial.

In this module we teach you how to collect walking and running trials.
Topics covered include:

In this lesson we provide a broad overview of the MSK testing process, and discuss the different test packages within Run3D.
We’ll go through the data capture process and provide some top tips and trouble-shooting points for collecting a MSK trial.
Please note that videos for each of the individual tests within Run3D’s MSK test packages can be accessed as separate lessons with this module. Just click on the test you would like to learn and watch the video.
In this module we go through the system hardware, and some of the technicalities on how this hardware is set-up.
Specific topics covered include:
Run3D 2026, All rights reserved


